Deno - Build a LiveView
Since you've already downloaded the LiveViewJS repo, it should be easy to create a new LiveView and add it to your webserver. Let's get started!
Create a new LiveView in Deno
Since we are using Deno to serve our LiveViews, we'll create a new LiveView in the packages/deno directory.
Use your favorite editor to create a new file packages/deno/src/example/liveview/hello.ts and add the following code
and hit save:
import { createLiveView, html } from "liveviewjs";

export const helloLiveView = createLiveView({
  render: () => html`Hello World!`,
});
Congratulations! You've just created your first LiveView! It doesn't do much yet but let's get it running in the browser.
Setup a new Route
Let's add a route to this LiveView to see it in our browser. Edit packages/deno/src/example/index.ts and make
the following highlighted changes:
...
import { pageRenderer, rootRenderer } from "./liveViewRenderers.ts";
import { helloLiveView } from "./liveviews/hello.ts";

// map request paths to LiveViews
const lvRouter: LiveViewRouter = {
  "/hello": helloLiveView,
  "/autocomplete": autocompleteLiveView,
...
Great! We've now setup our new LiveView to be served at the /hello path. Let's start the server and see it in action.
Start the Oak Server
Start up the Oak server in Deno:
# start oak server
deno run --allow-net --allow-read --allow-write --allow-env --import-map=import_map.json src/example/index.ts
See the LiveView in Action
Point your browser to http://localhost:9001/hello and you should see something like the
following: 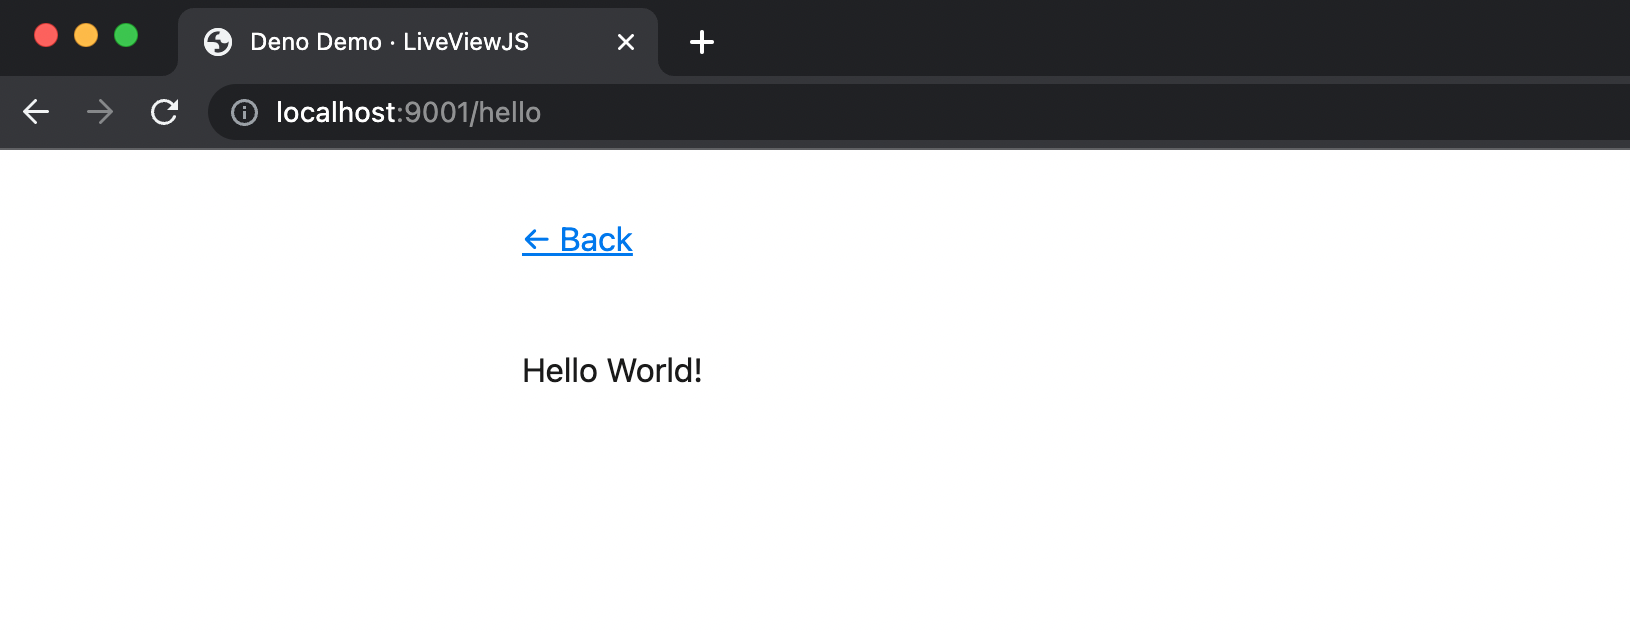
Next Steps
Ok we got our first LiveView running but it isn't very interactive. Let's make it more interesting by adding a button
that toggles between using text and emojis to say hello. Update the hello.ts file to the following:
import { createLiveView, html } from "liveviewjs";

export const helloLiveView = createLiveView({
  mount: (socket) => {
    socket.assign({ useEmoji: false });
  },
  handleEvent(event, socket) {
    socket.assign({ useEmoji: !socket.context.useEmoji });
  },
  render: (context) => {
    const msg = context.useEmoji ? "👋 🌎" : "Hello World";
    return html`
      ${msg}
      <br />
      <button phx-click="toggle">Toggle Message</button>
    `;
  },
});
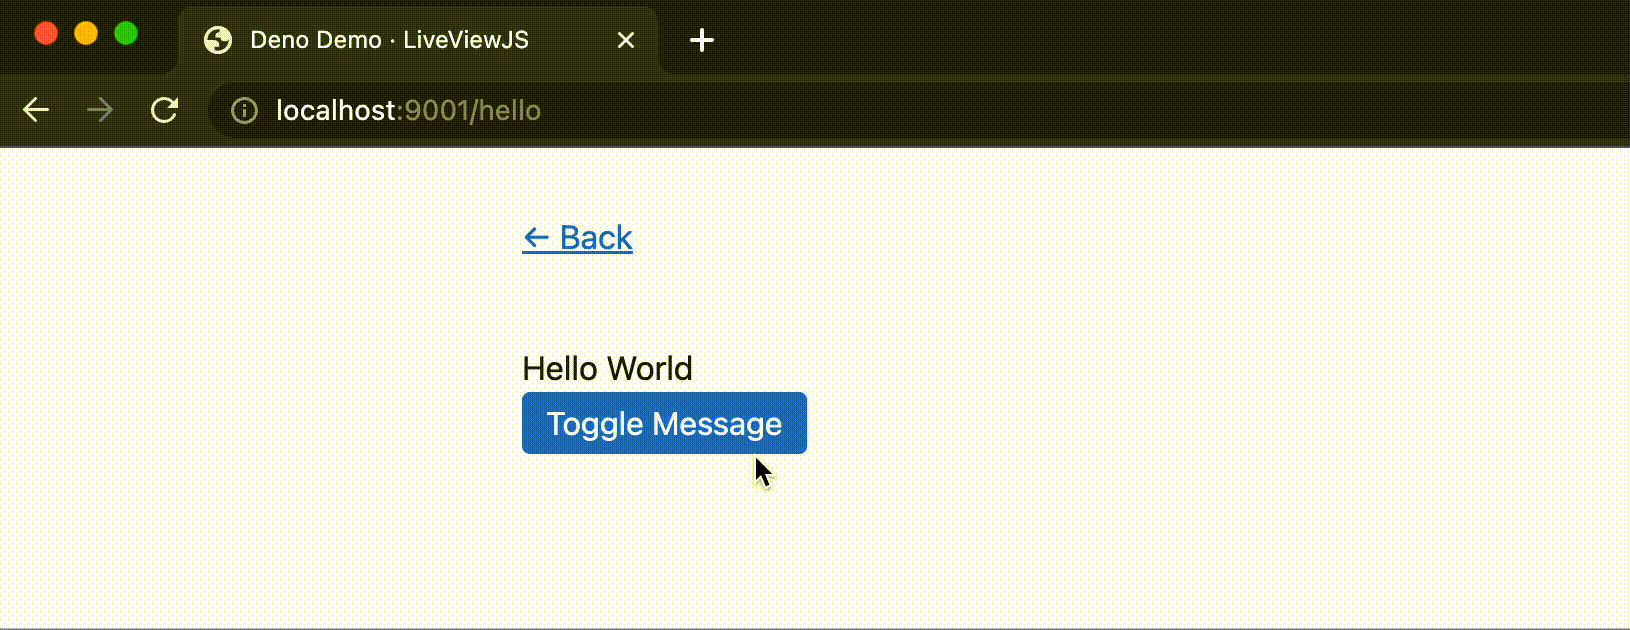
Stop the Deno server and run the same command again to start the server.
Now, when you refresh the page, you should see a button that toggles between using text and emojis to say hello. It should look something like this:
Great start!
You've just created your first LiveView and added it to your webserver! There is a lot more to learn about LiveViewJS, but you are well on your way. We recommend you continue to the Anatomy of a LiveView section to start to learn more about how LiveViews work.